Quick Explain
- Garlic needs loamy, well-drained soil with pH between 6.0 and 7.0 to prevent bulb rot and maximize yield.
- Mix 1/3 compost or aged manure into your existing soil before planting to add organic matter and improve structure.
- Poor drainage is the #1 reason garlic fails—test your soil’s drainage 6 months before planting.
- Add nitrogen-rich amendments in fall at planting, then phosphorus-heavy fertilizer in spring as bulbs form.
- If your soil is clay, sandy, or poor, raised beds or in-ground amendments will fix it—garlic is adaptable.
What Is the Best Soil for Growing Garlic?
The best soil for garlic is loamy, well-draining soil rich in organic matter with a pH between 6.0 and 7.0.
Loam is a balanced mix of sand, silt, and clay that holds moisture without becoming waterlogged. Garlic bulbs rot in soggy conditions, so drainage is non-negotiable.
This is why garlic does poorly in heavy clay soils and weak, shallow-rooted sandy soils—both lack the right texture and structure.
Garlic isn’t as picky as some vegetables. You can grow it in clay, sand, or poor soil if you amend it properly.
The key is preparing your soil months before planting—fall is when you plant garlic, so you need to begin soil prep in summer.
Home gardeners often plant garlic without soil testing or amendments and wonder why yields are small or bulbs rot. The difference between 2-3 cloves per bulb and 8-10 cloves is almost always the soil.
How to Identify Your Current Soil Type
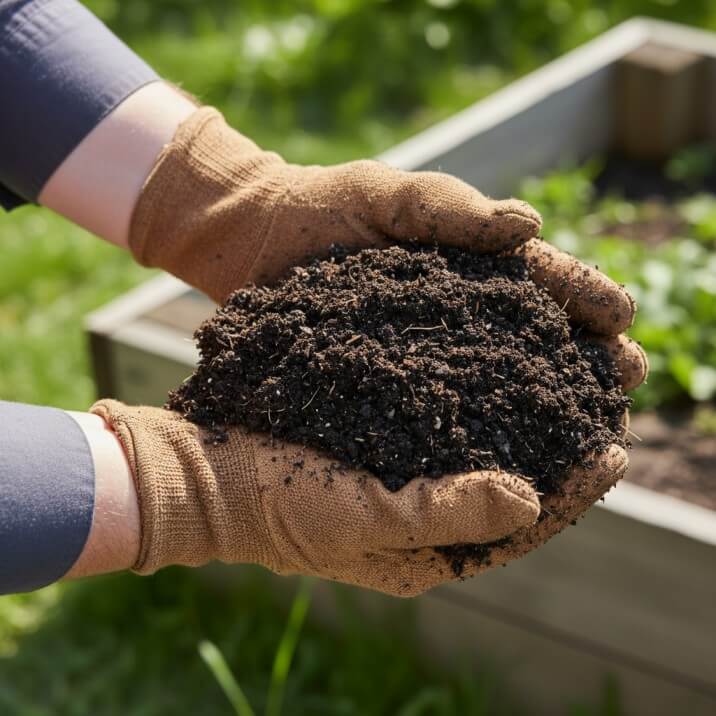
Your starting soil determines what amendments you need. Most home gardeners don’t know their soil type, but you can test it yourself in 5 minutes with the squeeze test.
The Squeeze Test: Dig a handful of moist soil (not wet) from your garden. Squeeze it in your fist. If it holds its shape like a ball and feels sticky, you have clay.
If it crumbles immediately, you have sand. If it holds loosely and feels gritty with slight stickiness, you have loam. This tells you your baseline texture.
The Drainage Test: Dig a hole 1 foot deep and 1 foot wide. Fill it with water. After 24 hours, fill it again. If water drains in 1-2 hours, drainage is good.
If water sits for 6+ hours, drainage is poor—this is a red flag for garlic. Poor drainage means you’ll need raised beds or heavy organic amendments.
Most home gardens are either clay-heavy or sandy-light. True loam is rare without amendment. The good news: you can build it by adding organic matter.
Learn More About Growing Garlic in Pots: Step-by-step Guide for 20206
The Three Soil Requirements That Make or Break Garlic
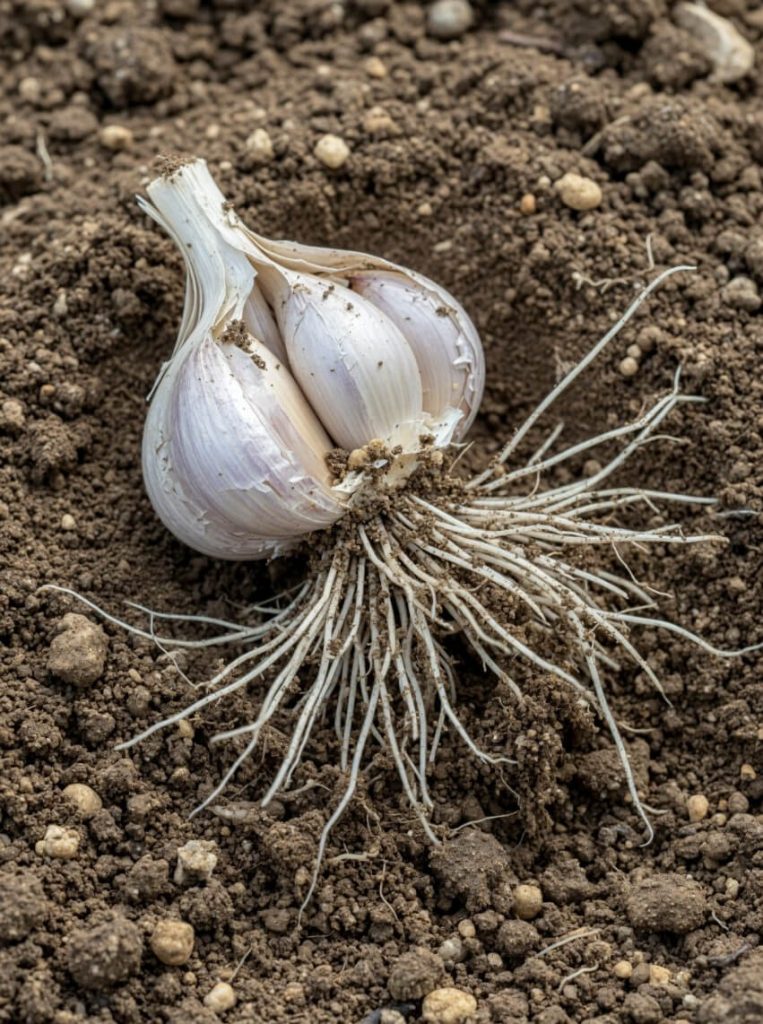
Garlic needs three things from soil. Miss even one and yields drop sharply.
1. Drainage (The Non-Negotiable Requirement)
Garlic bulbs rot if soil stays waterlogged for more than a few days. This is why drainage is #1. Fusarium and other fungal rot diseases spread in wet conditions and poorly drained soil, especially during wet years. If your soil fails the drainage test, your options are:
- Build a raised bed 12-18 inches high (works 90% of the time)
- Amend in-ground soil with perlite or coarse sand to improve porosity
- Plant garlic on a slope or mounded area if you have drainage issues
2. Texture (The Structure)
Garlic roots need loose, friable (crumbly) soil to spread. Garlic grows best in loam or sandy loam soil, not clay or silt which feel slick and sticky when wet.
Dense, compacted soil forces roots downward into a narrow space, resulting in small bulbs. Loose soil lets roots explore horizontally and downward, creating larger bulbs with more cloves.
If your soil is compacted (common around older homes and yards), you need to loosen it to 8-10 inches deep. A broadfork or garden fork works better than a tiller, which can damage soil structure further.
3. Organic Matter (The Feeding System)
Organic matter feeds soil microbes, which break down nutrients for the plant to absorb. Most vegetable beds should have soil organic matter levels of 5%-10% for best plant performance. In practice, this means mixing substantial amounts of compost or aged manure into your soil. Garlic is a heavy feeder and benefits from rich, composted soil.
Soil pH: Finding the Ideal Range
Soil pH affects nutrient availability. If pH is too high or too low, garlic can’t absorb the nutrients it needs, even if they’re present in the soil.
Garlic prefers a pH between 6.0 and 7.0, with 6.0 to 6.5 being ideal. This range is slightly acidic to neutral. At pH 6.0-7.0, most nutrients (nitrogen, phosphorus, potassium, boron, zinc) are available for uptake.
Outside this range, nutrient deficiencies show up even in amended soil.
How to Test pH:
Use a home soil testing kit (cost: $10-15, available at any garden center or online). Or collect a soil sample and send it to your county extension office for a full analysis (cost: $15-30, results in 1-2 weeks).
The extension report tells you pH, organic matter %, nutrient levels, and specific recommendations for your region—worth doing once.
If pH is too low (below 6.0):
Add agricultural limestone. If soil is too acidic, mix in ground limestone. Apply in fall and let it break down over 2-3 months before planting. Typical rate: 50 lbs per 1,000 sq ft, but follow your soil test results.
If pH is too high (above 7.0):
Add sulfur or peat moss. Sulfur takes time to break down. If soil is too alkaline, add peat moss. Peat moss lowers pH faster. Typical rate: 1-2 inches worked into the top 6 inches of soil.
Organic Matter and Soil Amendments: What to Add and How Much
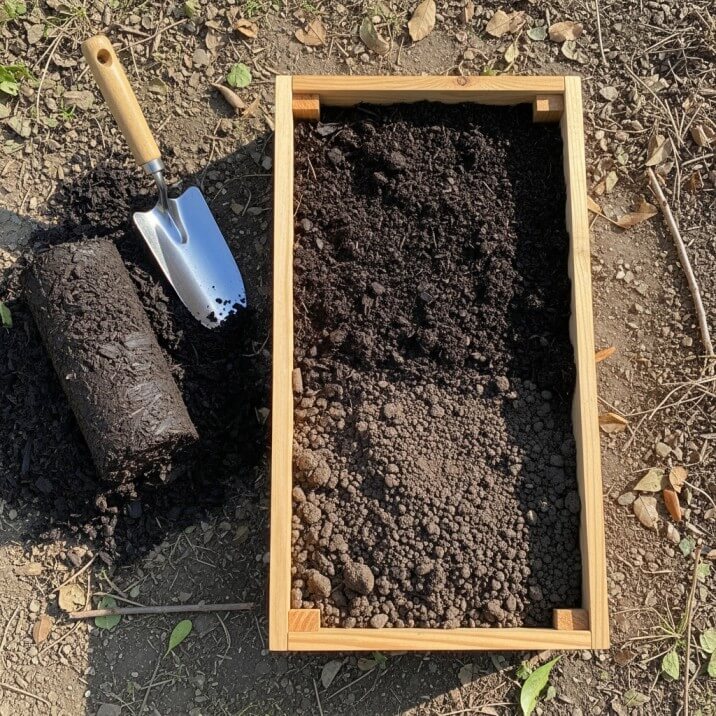
This is where most home gardeners get confused. Sites say “add organic matter” but don’t explain how much or what type. Here’s the practical guide.
Why Organic Matter Matters:
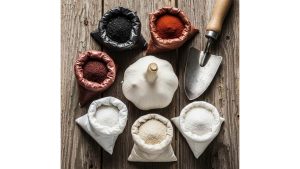
Organic matter improves soil in four ways: it loosens clay soils, helps sandy soils retain moisture, feeds microbes, and provides slow-release nutrients. Mix composted cow manure, garden compost, or peat moss (up to 1/3 concentration) into excavated soil to loosen and enrich it.
The 1/3 Rule:
The most reliable recommendation is the 1/3 rule: remove the top 8 inches of your planting area, then mix 1/3 compost or aged manure back into the 2/3 native soil. This gives you a rich, loose blend without completely replacing your soil.
Example calculation:
- Planting bed: 4 ft × 8 ft = 32 sq ft
- Depth: 8 inches
- Soil volume to amend: 32 sq ft × 0.67 ft (8 inches) = 21 cubic feet
- Amount of compost needed: 21 ÷ 3 = 7 cubic feet
Most garden centers sell compost in 2-3 cubic foot bags. For this bed, you’d need about 3 bags.
Best Amendment Options:
| Amendment | Best For | Cost | Notes |
| Aged cow/horse manure | All soils | Low ($15-30/cubic yard) | Rich in nitrogen; must be aged 6+ months or it burns roots |
| Compost (homemade) | All soils | Free | Best long-term option if you have it; adds living microbes |
| Mushroom compost | Clay soils | Medium ($25-40/cubic yard) | Drains well, slightly alkaline (good if soil is acidic) |
| Peat moss | Sandy soils | Medium ($30-50/bag) | Holds moisture; non-renewable resource; avoid if possible |
| Coconut coir | Sandy soils | Medium ($25-40/bag) | Renewable peat alternative; similar benefits |
| Leaf mold (aged leaves) | All soils | Free | Takes 1-2 years to make; excellent if available |
Product recommendations for home gardeners:
- Burpee Premium Potting Mix ($8-12 per bag): High-quality compost blend, nutrient-balanced, widely available
- Michigan State University Extension Compost (check local): Excellent quality, supports education
- Espoma Organic Compost ($12-15 per bag): OMRI certified, good nutrient profile, widely available
- Gardner & Bloome Premium Compost ($12-15 per bag): West Coast standard, high organic matter, well-draining
When buying, look for dark color, earthy smell, and fine texture. Avoid compost that smells like ammonia (not finished) or contains visible sticks and debris.
Learn More About: Garlic Companion Plant Guide: What to Plant With Garlic
Soil Amendments for Different Soil Types
Not all soils need the same fix. Here’s what to do based on your soil type.
Clay-Heavy Soil (Drainage Problem):
Clay drains poorly and becomes hard when dry. Garlic in clay often rots or produces small bulbs.
Step 1: Test drainage (fill a hole with water; if it takes 6+ hours to drain, you have a problem).
Step 2: Add perlite or coarse sand. Mix 2-4 inches of perlite into the top 8 inches of soil. Perlite opens up clay without compacting. Avoid fine sand—it actually makes drainage worse.
Step 3: Add organic matter. Apply 2-3 inches of compost and mix in.
Step 4 (Optional): Build a raised bed 12-18 inches high. This is the most reliable fix for clay soil.
Product recommendation: Espoma Perlite ($8-12 per bag, 8 quart size) or Miracle-Gro Perlite ($6-10 per bag). Perlite is sterile and lasts for years in soil.
Sandy Soil (Moisture Problem):
Sand drains too fast, leaching nutrients and drying out quickly. Garlic in sandy soil often stays small and stressed.
Step 1: Add water-retentive materials. Incorporate 3-4 inches of compost or coconut coir.
Step 2: Avoid peat moss or coco coir alone—mix with compost (60% compost, 40% coir or peat).
Step 3: Add aged manure for slow-release nutrients.
Step 4: Mulch heavily (3-4 inches) after planting to conserve moisture.
Product recommendation: Burpee Coconut Coir Brick ($8-12 per brick, expands to 8-10 quarts): Renewable, holds moisture, affordable. Or Michigan Peat Compressed Peat Moss ($15-20 per bale): Traditional choice, mixes well with compost.
Already-Good Loam (Maintenance):
If you have decent loam (sandy loam or clay loam), you don’t need a complete overhaul. Just add 1-2 inches of compost mixed into the top 6 inches.
Micronutrients Competitors Miss: The Hidden Deficiencies
Here’s a gap almost no article covers. Most focus on nitrogen, phosphorus, and potassium (NPK). But garlic also needs boron, zinc, and manganese. Without these, bulbs stay small or develop deformed cloves.
Boron: Essential for bulb formation and cell development. Deficiency causes stunted, hollow cloves. Garlic planted in soil testing 6.0-7.0 pH receives optimal nutrient availability, including micronutrients.
Zinc: Needed for enzyme function and protein synthesis. Deficiency causes pale, mottled leaves and weak bulbs.
Manganese: Supports photosynthesis and nutrient uptake. Deficiency causes yellowing between leaf veins.
How to provide micronutrients:
The easiest way: use a complete organic fertilizer that includes micronutrients rather than straight nitrogen fertilizers.
Product recommendations:
- Espoma Organic Vegetable Plant Food (5-3-3 with micronutrients): $10-14 per bag; balanced, includes boron and zinc
- Jobe’s Organics All Purpose Fertilizer Spikes (4-4-4): $8-12 per package; easy to apply, micronutrient-rich
- Miracle-Gro Performance Organics All Purpose Plant Nutrition (7-7-7): $12-16 per bag; fast-acting, complete micronutrient profile
Or add a separate micronutrient spray: Bonide Fish Emulsion Plus Micronutrients ($8-12 per bottle) applied every 4 weeks in spring.
Fertilizer Timing: When to Feed Your Garlic
Garlic needs nutrients at specific times. Timing matters more than the total amount.
At Planting (Fall):
Add nitrogen-heavy fertilizer to support root development before winter. Garlic grows best when fertilizer is added into the planting hole before planting; apply 1/2 cup of balanced fertilizer with higher nitrogen (like 15-10-5) per 10 linear feet of soil.
Spring Growth (When shoots emerge):
Once shoots come up in spring, switch to phosphorus-heavy fertilizer (like 10-15-10) to encourage bulb formation. Apply when plants are 4-6 inches tall.
Late Spring (If needed):
If growth is slow or leaves look pale, apply a nitrogen boost (high-nitrogen fertilizer like 20-10-10). This strengthens bulb development.
Product recommendations:
- Fish Emulsion + Kelp (best for organic gardeners): $10-15 per bottle; gentle, microbe-rich, slow-acting
- Balanced Complete Fertilizers: Espoma ($10-14), Dr. Earth ($12-16), or Miracle-Gro Performance Organics ($12-16)
- Phosphorus-Heavy Options: Bone meal for organic (10-15-0) mixed into soil at planting, or Sulfate of Potash-Magnesium (SOP) side-dressed in spring
Raised Beds vs. In-Ground Planting: Which Is Right for You?
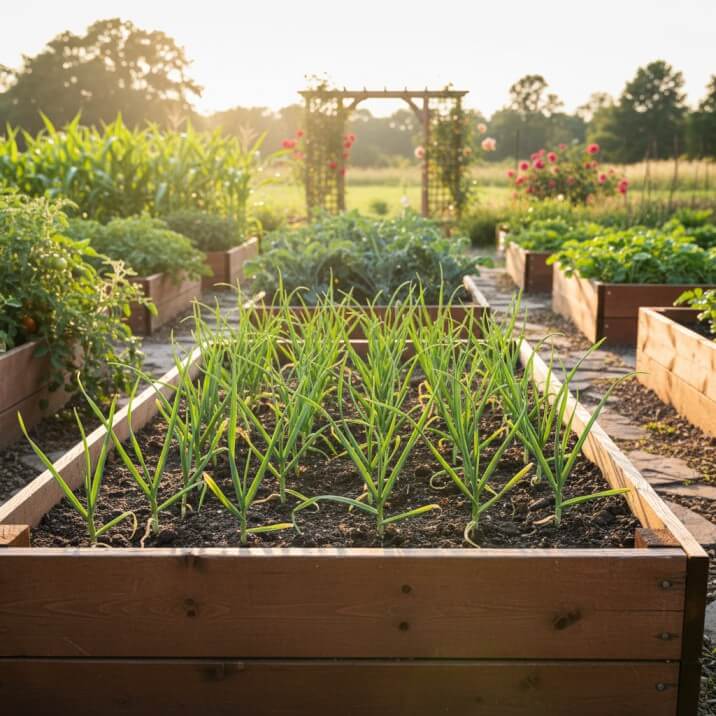
Many home gardeners wonder: should I build a raised bed or amend soil in place?
In-Ground Planting (Better if you have: good drainage, time to prepare, native loam)
- Pros: No cost for materials, works well in naturally loamy soil, less maintenance once established
- Cons: Takes 2-3 months of prep, requires heavy amendment if clay, doesn’t solve drainage problems in waterlogged areas
- Labor: High upfront (digging, amending, raking), low ongoing
- Best for: Areas with decent native soil and no flooding history
Raised Beds (Better if you have: clay soil, poor drainage, compacted soil, limited space)
- Pros: Instant drainage fix, easier to manage, no heavy digging, warm up faster in spring, great for small spaces
- Cons: $50-200+ in materials per bed, soil settles and needs topping up yearly, dries out faster than in-ground
- Labor: Moderate upfront (building frame, filling), moderate ongoing (adding compost, weeding)
- Best for: Heavy clay soil, flood-prone yards, new gardeners, small spaces
Cost Comparison (for a 4 ft × 8 ft bed, 12 inches deep):
In-ground amendment: $40-80 in compost + perlite Raised bed: $80-120 for untreated wood frame + $120-180 for soil (total $200-300)
If drainage is the problem, raised beds are worth the extra cost. They save you from crop failure.
Building Your Ideal Garlic Soil: A Month-by-Month Timeline
Garlic is planted in fall, so soil prep starts in summer. Here’s when to do what.
June-July (4 months before planting):
- Test your soil pH and drainage. Send a sample to your county extension or use a home kit.
- Based on results, decide: in-ground amendment or raised bed?
- Order materials: compost, perlite, lime, or sulfur as needed.
August (3 months before planting):
- If adding lime or sulfur, apply and till in now. It needs 8-12 weeks to adjust pH.
- Begin building raised beds if using them.
- Remove any perennial weeds from the planting area.
September (2 months before planting):
- Test pH again if you added lime/sulfur. Adjust if needed.
- Apply compost and organic matter. Mix into top 8 inches of soil.
- If planting in-ground, let soil settle for 2-3 weeks before planting.
- Mulch the area lightly to suppress new weeds.
October (1 month before planting):
- Apply fertilizer (nitrogen-heavy) if using in-ground planting.
- Water the area once to settle amendments.
- Plant garlic cloves in mid-to-late October (2 weeks after first hard frost, depending on region).
November-March (During dormancy):
- Apply mulch (3-4 inches) after soil freezes.
- No fertilizer needed during dormancy.
April-May (Spring growth):
- Remove heavy mulch, leave 1-2 inches.
- Apply phosphorus-heavy fertilizer when shoots are 4-6 inches tall.
- Side-dress with nitrogen if growth is slow.
- Water if spring is dry (1 inch per week total).
June (Harvest):
- Stop watering when lower leaves yellow.
- Harvest when 2-3 lower leaves have dried.
Common Soil Problems and How to Fix Them
Problem: Waterlogged soil that doesn’t drain
Cause: Heavy clay, low elevation, or high water table.
Fix: Build a raised bed (12-18 inches high) or mound soil on a slope. Add perlite to improve porosity. Never plant garlic in waterlogged soil.
Problem: Compacted soil that’s hard to dig
Cause: Foot traffic, past tilling, or construction.
Fix: Use a broadfork to loosen soil to 10 inches without churning it. Add 2-3 inches of compost. Avoid future foot traffic in garlic beds.
Problem: Acidic soil (pH below 6.0)
Cause: Naturally acidic region, decomposing pine needles, or sulfur application.
Fix: Add agricultural limestone in fall. Follow soil test recommendations for application rate. Retest after 3 months.
Problem: Alkaline soil (pH above 7.5)
Cause: Limestone bedrock, past concrete dust, or hard water irrigation.
Fix: Add sulfur in fall or peat moss now. Sulfur takes 6+ months to lower pH. Retest in spring.
Problem: Small bulbs with few cloves
Cause: Poor soil fertility, low nitrogen at planting, or inadequate moisture.
Fix: Add nitrogen-rich amendment (compost or aged manure) at planting next year. Apply phosphorus-heavy fertilizer in spring. Water consistently (1 inch per week).
Problem: Bulbs with deformed or hollow cloves
Cause: Boron deficiency, low organic matter, or inconsistent watering.
Fix: Apply boron fertilizer next year (20 Mule Team Borax, 1 tbsp per 50 sq ft, mixed with water). Add 2 inches of compost. Mulch to keep soil moisture even.
Frequently Asked Questions About Best Soil for Growing Garlic
What is the best soil for growing garlic?
The best soil is loamy, well-drained, and rich in organic matter with a pH between 6.0 and 7.0. If you don’t have loam naturally, amend your soil with compost or aged manure (1/3 ratio) to achieve this texture and fertility.
How do I know if my soil drains well?
Fill a 1-foot deep hole with water. If it drains within 1-2 hours, drainage is good. If water sits for 6+ hours, drainage is poor and you’ll need a raised bed or heavy organic amendment.
Can I grow garlic in clay soil?
Yes, but it requires significant amendment. Add 2-4 inches of perlite to improve porosity, then 2-3 inches of compost. Or build a raised bed, which is the most reliable solution for clay.
What’s the ideal soil pH for garlic?
Garlic prefers pH between 6.0 and 7.0, with 6.0 to 6.5 being optimal. Outside this range, nutrients lock up and plants struggle even in amended soil. Test your pH before planting.
How much compost should I add to my garlic bed?
Use the 1/3 rule: mix 1/3 compost or aged manure into 2/3 native soil in the top 8 inches. For sandy soil, increase compost to 50%. For clay, use perlite + 1/3 compost.
When should I amend my soil for garlic?
Start in June-July, 4 months before planting. Add lime or sulfur in August if pH adjustment is needed. Apply compost and organic matter in September. Fertilizer goes down at planting time (October).
Do I need a soil test?
Yes, it’s the most reliable way to know your pH, organic matter level, and nutrient status. Send a sample to your county extension office ($15-30) or use a home kit ($10-15). Results guide your amendment strategy.
Can I use fresh manure?
No. Fresh manure burns roots and has weed seeds. Use only aged manure (6-12 months old) or composted manure. If manure smells like ammonia, it’s not ready.
What micronutrients does garlic need?
Boron, zinc, and manganese are critical for bulb formation and clove development. Use a complete organic fertilizer that includes micronutrients, or apply fish emulsion plus a micronutrient spray in spring.
Should I use raised beds or plant in-ground?
Use raised beds if you have clay soil, poor drainage, or compacted soil. Raised beds solve these problems without heavy amendment. Use in-ground planting if your soil naturally drains well and has decent loam.
Key Takeaways
- Loamy, well-drained soil with pH 6.0-7.0 is ideal, but you can build it from clay or sand with proper amendment.
- Add 1/3 compost or aged manure to existing soil; this is the most cost-effective way to improve structure and fertility.
- Poor drainage is the #1 cause of garlic failure—test your soil’s drainage 6 months before planting. If drainage fails, build a raised bed.
- Soil preparation must start in June-July for October planting; rushing this step wastes your effort.
- Don’t skip micronutrient fertilizers; garlic needs boron, zinc, and manganese for large bulbs with many cloves.
- If your native soil is clay, sandy, or poor, you can still grow excellent garlic—prepare soil properly and it becomes irrelevant.